Bake Scones If You Have Unsweetened Heavy Cream
쿠팡 파트너스 활동으로 수수료를 받을 수 있음
This page contains Coupang Partners affiliate links; the operator may earn a commission.
Key Takeaway
With 120 ml of unsweetened heavy cream and cold butter you can make 10 to 12 scones. Scoop the dough, chill it for at least 15 minutes, then bake at 204°C (400°F) for 18 to 26 minutes. Keep the butter cold.
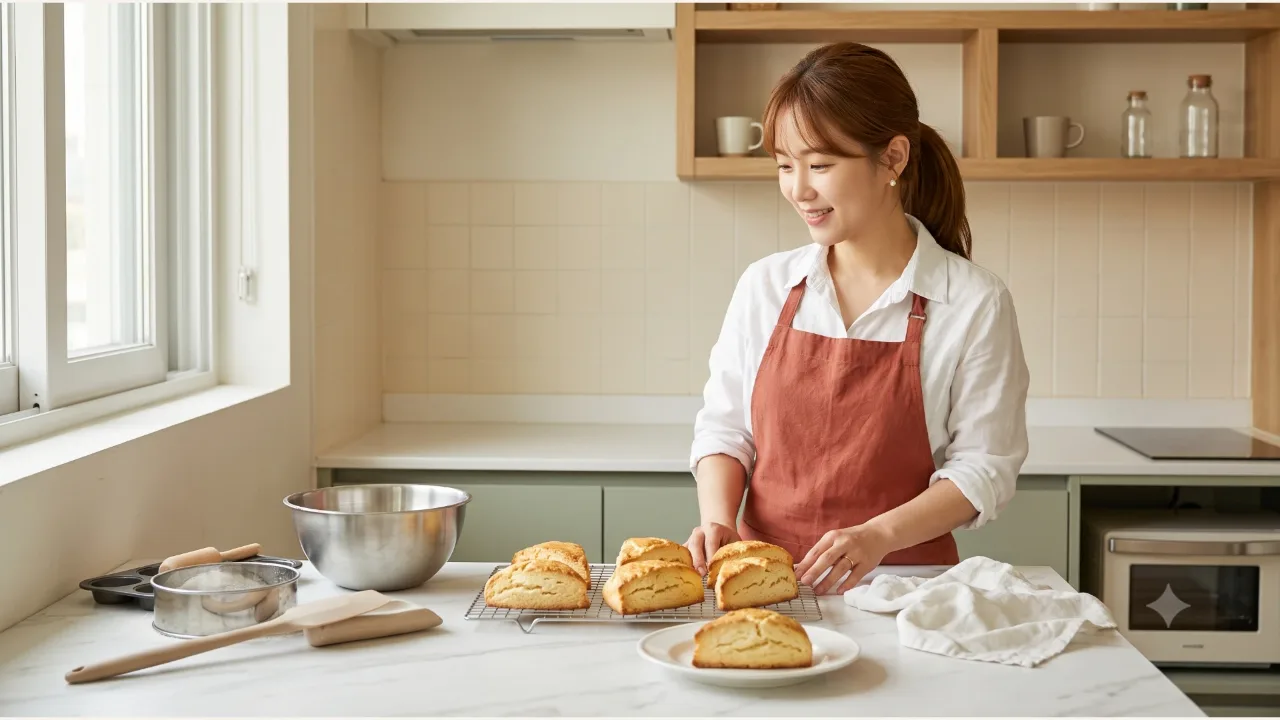
What ingredients do you need?
Spoon measures: a tablespoon here is one regular Korean table spoon, leveled off (about 15 ml), and a teaspoon is one teaspoon (about 5 ml).
| Ingredient | Amount | Note |
|---|---|---|
| All-purpose flour | 250 g | |
| Unsweetened heavy cream | 120 ml + 30 ml for brushing | Keep it cold |
| Unsalted butter | 113 g | Freeze it first |
| Sugar | 100 g | |
| Large egg | 1 | |
| Baking powder | 2 1/2 teaspoons | |
| Salt | 1/2 teaspoon | |
| Vanilla extract | 1 1/2 teaspoons |
How do you make them, step by step?
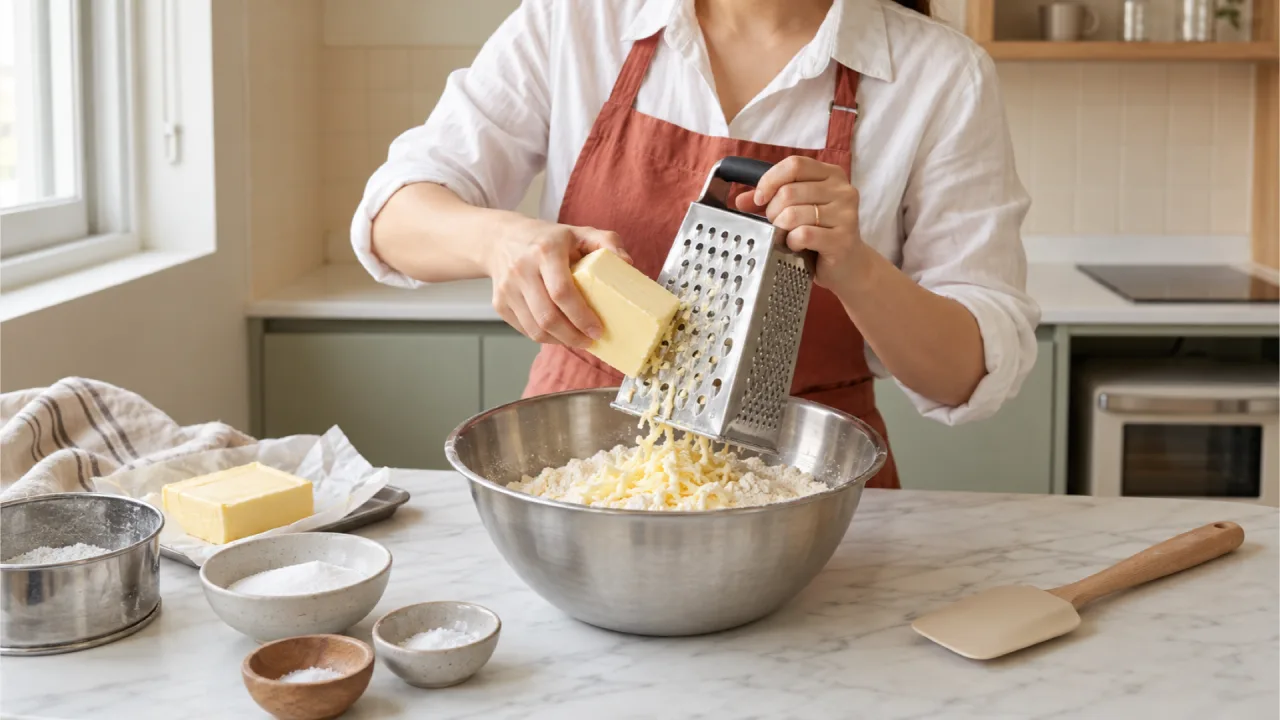
- Mix the dry ingredients. Grate the frozen butter into them and toss lightly so that pieces about the size of small peas remain.
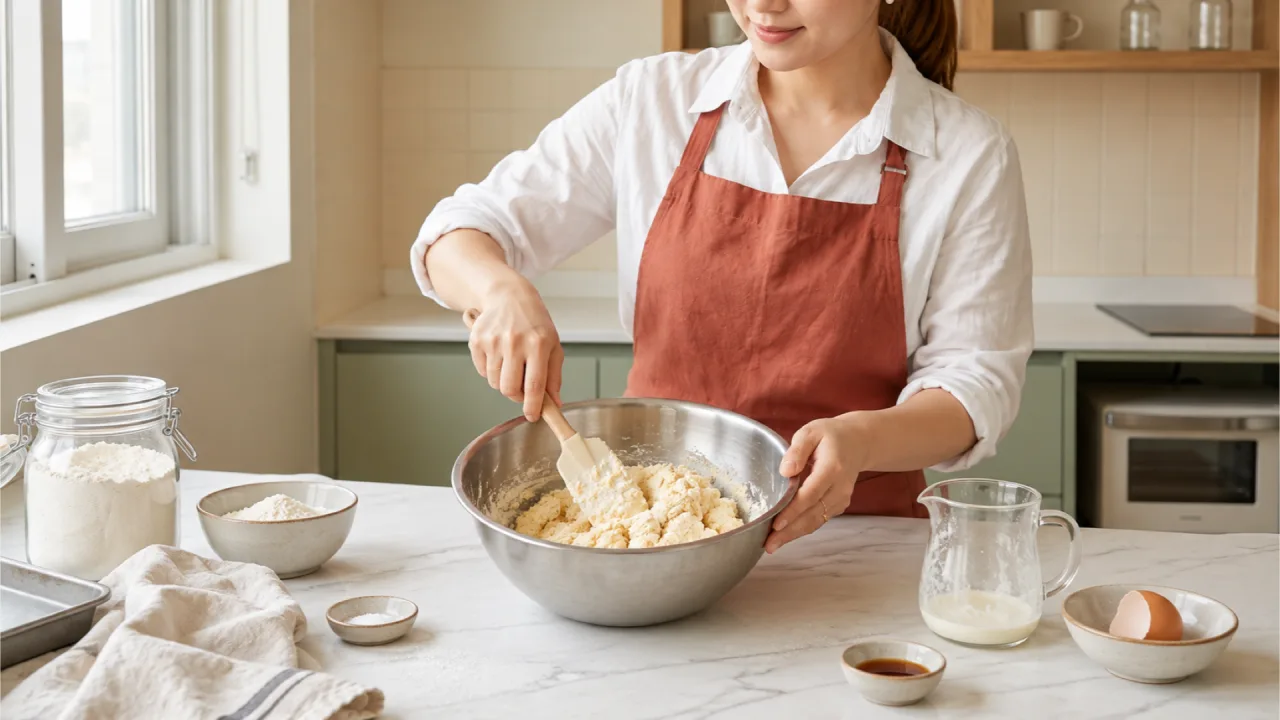
- Whisk the egg and vanilla into 120 ml of cold cream and add it to the dry ingredients. Mix only until the dough comes together.
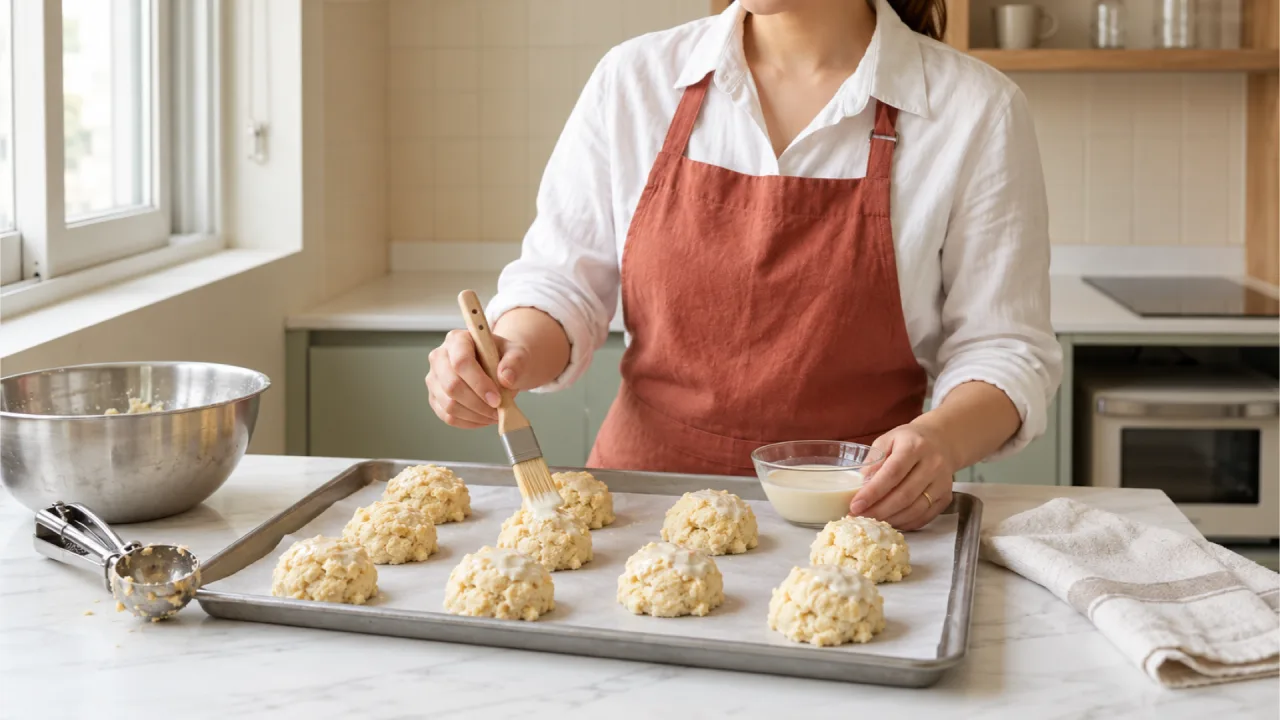
- Scoop the dough in portions of about 60 ml, 10 to 12 in all, onto the pan, and brush the cream over the tops.
- Chill the dough for at least 15 minutes. Meanwhile, preheat the oven to 204°C and leave 5 to 8 cm between the scoops.
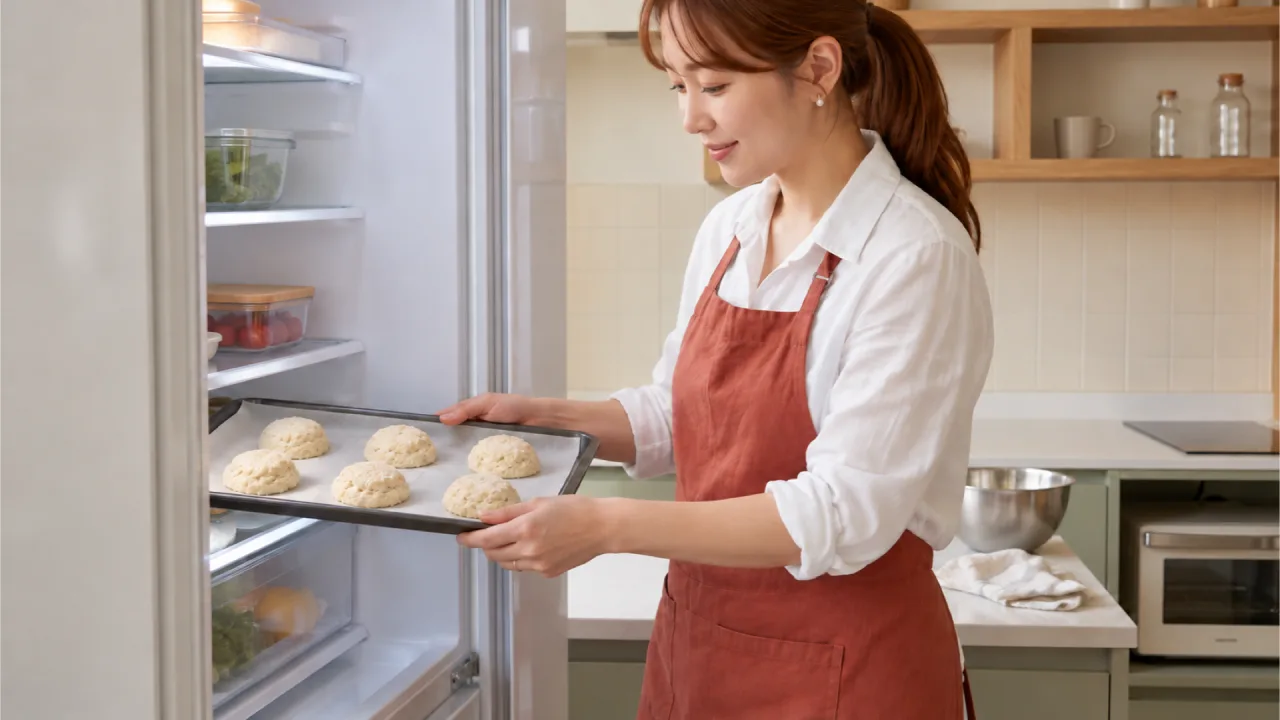
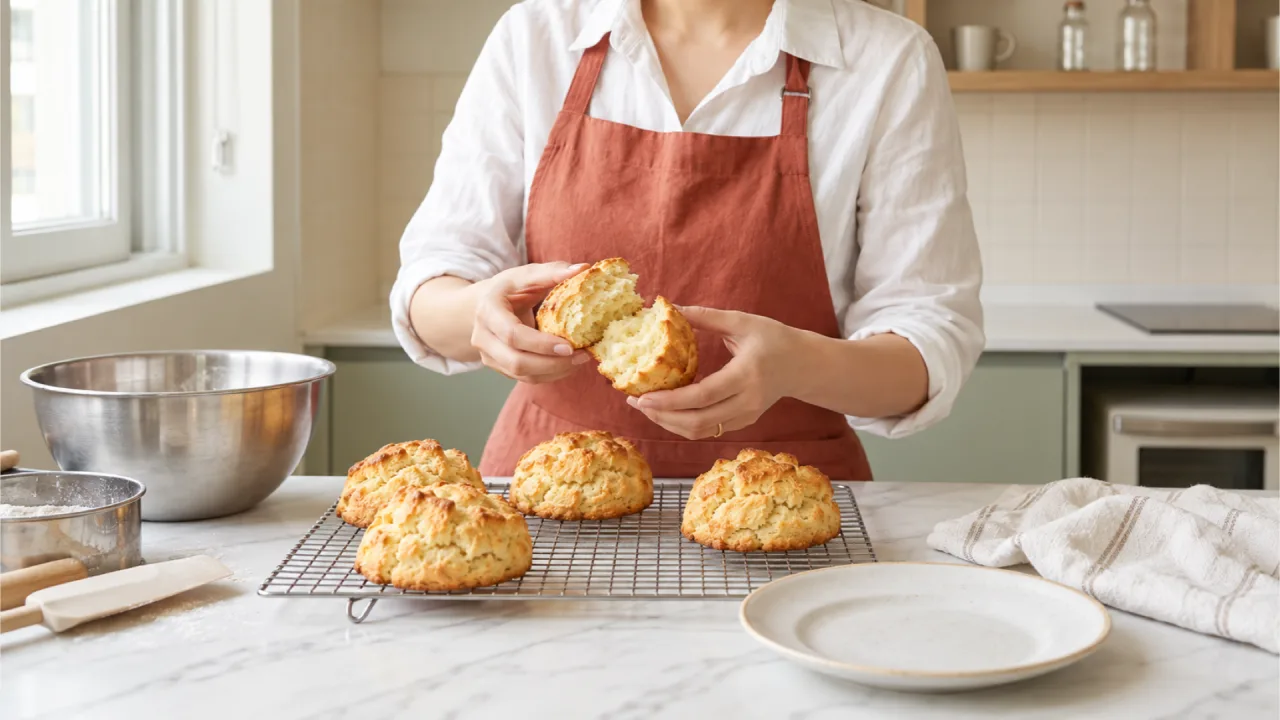
- Bake for about 18 to 26 minutes, until the edges turn golden. Break one open to make sure no wet raw dough is left, then let them cool.
What should you check to avoid failures?
- If the dough warms up and the butter starts to run, chill it again before baking.
- Do not knead the dough or mix it for a long time to make it smooth.
- Do not taste raw dough, and wash your hands and tools afterward.
Why use cold ingredients?
These scones work by leaving small pieces of frozen butter in the dough. That is a different state of preparation from cookies, where you soften or cream the butter. While you measure the flour, do not leave the butter and cream out on a warm counter. If the grated butter starts sticking to your hands and clumping, restore the cold temperature instead of handling it more to break it down.
When you mix the flour and butter, you do not need to turn it into an even, sandy mixture. Look for butter pieces about the size of small peas. Toss it lightly so the large pieces of butter do not cluster in one spot, and do not press and knead with your palms until the butter melts. A stable counter where the bowl does not slide and a wide spatula make it easy to mix with short movements.
Should you knead until smooth after adding the cream?
It is enough for the wet ingredients to spread through the flour and come together as one mass. There is no need to keep kneading until the surface is glossy. If flour remains at the bottom of the bowl, do not just turn the top of the dough; push the spatula down to the bottom and fold upward. Even if the dough looks a little rough, do not overwork it once the flour is evenly mixed in.
The cream is divided into an amount for the dough and an amount for brushing the tops. Do not pour all the prepared cream into the dough at the start. The size of the egg and measuring errors can also affect the dough, so avoid changing the recipe by adding flour every time it looks wet. Make it with the measured amounts first, and start by checking whether you kept everything cold.
How do scooping and chilling fit together?
This is a drop scone, where you scoop even portions and bake them, rather than rolling the dough out wide and cutting triangles. Dividing the dough with the same scoop or measuring tool makes the sizes similar, which makes it easier to compare how they bake. Instead of pressing the dough flat onto the pan, keep the scooped shape. If the sizes vary, the small ones may already be drying out while the big ones are still wet in the middle.
After brushing the tops with cream, check beforehand that you have room to chill the whole pan. Chilling is there to reduce the chance of the dough spreading right away while it is warm. After taking the pan out of the refrigerator, make sure there is still space between the scoops before it goes in the oven. If you squeeze them close to fit everything on one pan, they can stick together and the sides will bake differently.
What if the surface color and the inside do not match?
Each oven colors the edges at a different speed. Even within the time range, break one open and check whether wet raw dough is stuck to the center. A golden outside does not necessarily mean the middle is cooked. On the other hand, if they are fully baked and you keep baking to get a darker color, they can dry out. If needed, cover loosely with foil and bake a little longer, checking as you go.
How do you choose baking tools?
Prepare a grater for the cold butter and a spatula for gathering the dough. Do not scrape the butter left on the grater with your fingers; shake it off safely into the bowl. Use a pan that leaves enough space between the scones, and check that your parchment paper is rated for the baking temperature of the oven.
Frequently Asked Questions
Can I make these without butter?
This recipe needs butter. Leaving it out changes the balance of moisture and fat.
The centers are underbaked. What should I do?
Bake a little longer and check again. If only the outside is getting dark, cover loosely with foil.
Can I use sweetened whipping cream?
This recipe is based on unsweetened heavy cream. Sweetened or plant-based products have different ingredients, so the same result is hard to guarantee.
Sources & Verification Date
- Reference for cream scone ratios and baking · Verified
- U.S. Food and Drug Administration guidance on flour and raw dough safety · Verified
All materials have been verified from official announcements and may have changed since verification.